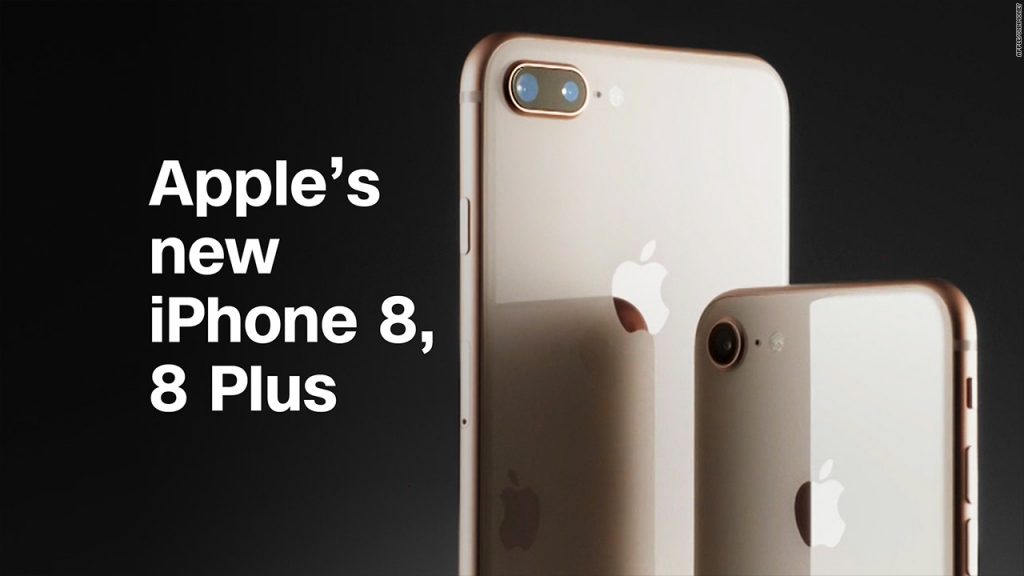
If you have finally gotten your iPhone 8 or 8 plus, you are excused to take some moments to admire the aesthetic design. After that, you’ll have to set up your phone and launch into the features the latest flagship from Apple has to offer.
Here are some few tips we feel can help you to set up your phone to derive the wonderful experience it was made to give.
1. Restore From Your Backup
If you owned an iPhone already, you’ll definitely want to restore your entire data from the old device to the new one. With the iOS11 that your new device is equipped with, this process is much easier as there is a new automatic set up feature. To do this, follow the step below:
- Place your new device close to your old device
- Pair the devices by accepting the prompt that pops up
At the instance, your new device will automatically sign into your relevant accounts (iCloud, iTunes, iMessage, App Store, etc.) and restore all your device settings. All the contents in your old device will also be quickly restored to your new device.
2. Set Up Touch ID
You’d really want to set this up as it adds extra security for unlocking your phone as well as mobile payment. To set it up:
- Go to settings
- Select Touch ID and Passcode
- Go ahead and register as much fingers as allowed by lifting and pressing each finger for as many times as required.
Note that you can name each fingerprint registered. It is also possible to register the fingerprint of someone you trust.
3. Turn on Hey, Siri
If you were using Siri in your old Apple device, there won’t be any need to set this up as it will be automatically restored. The iPhone’s voice-activated assistant is more natural and sweet in iOS11 and you will enjoy using it. Once you turn on your phone, you will be guided on how to activate it. You will be required to say, “Hey, Siri” severally until the assistant recognizes your voice. You can go ahead to customize your Siri, choosing either male or female and giving it an assent.
4. Set Up Apple Pay
Apple Pay, which is Apple’s mobile payment service offers fast and seamless online payment solution that can equally give you added security from the activities of credit card scammers. You will likely be prompted to set this up while setting up your device but if you are not, follow the step below.
- Go to setting
- Select ‘Wallet and Apple Pay’ and complete the setting up.
It is also very simple to add a card to Apple Pay. To do this, position the card in front of your iPhone camera and it will be scanned. Enter your name and the three digit security code on the back of the card. Your card will be verified and shortly afterwards, you will get a confirmatory message that the card has been added.
5. Turn on Find My iPhone
This feature will be exceedingly helpful if you ever lose your phone. To set it up, simply open the Find iPhone app on your iPhone 8 or 8 plus and sign in with your Apple ID. If by any means you lose your phone, the feature will help you to pinpoint its exact location, using another iOS or MacOS devices. You can equally lock or erase the phone. You can also activate ‘lost mode’ all from any other Apple device.
6. Customize Control Centre
In the latest iOS11 (which is what your iPhone 8 and 8 plus are installed with), the control centre is quite different from what is obtainable in the previous OS. To customize it to your taste, swipe from the bottom of your screen and you will arrive at the Control Centre and you can customize it as you wish.
There are several other features that you will likely love about the iPhone 8 and iPhone 8 plus. Once you start getting acquainted with the device, you will discover and appreciate some of them.

