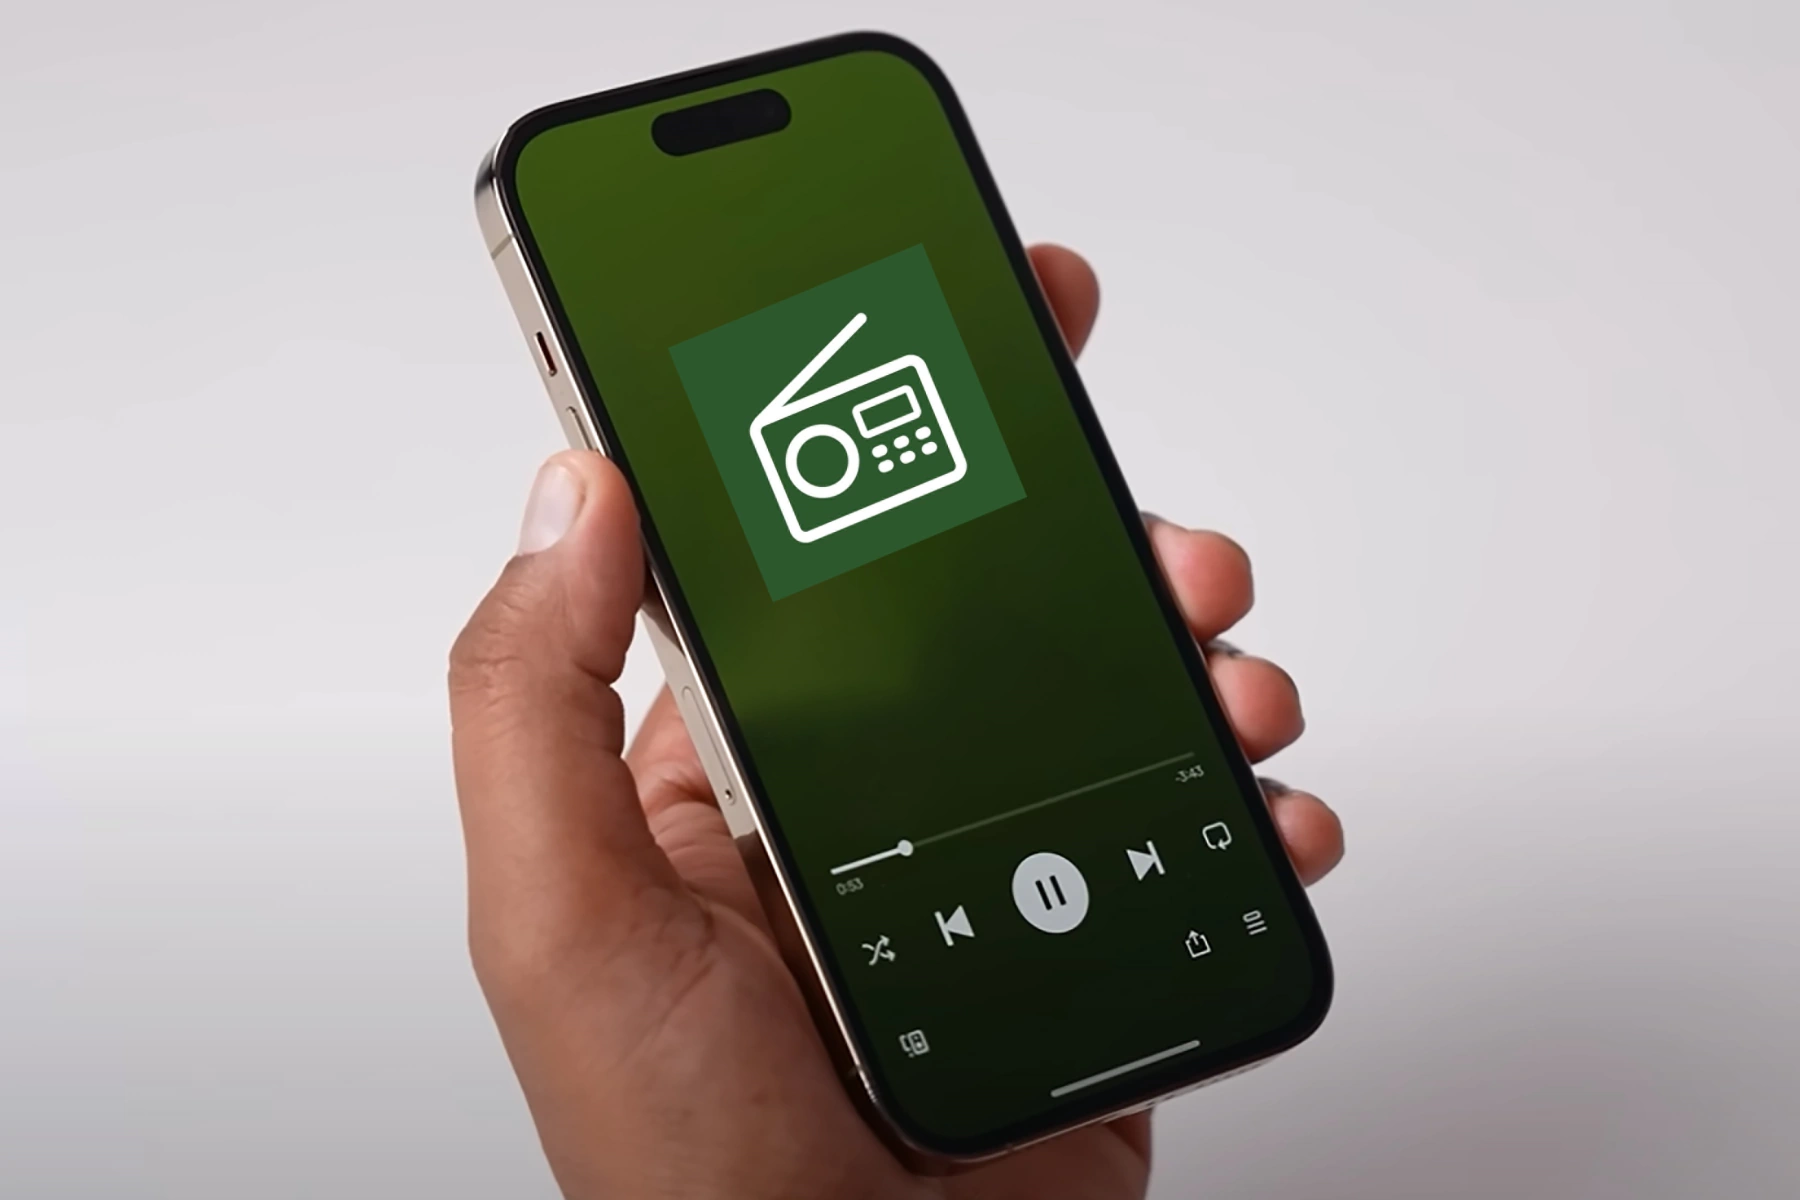
Interested in accessing FM radio on your iPhone? While iPhones do not come with built-in FM chips, you can still convert your iPhone into an FM radio by leveraging Software Defined Radio (SDR) hardware and software.
Let’s walkthrough the process of how to turn any iPhone into an FM radio receiver. With this setup, you can receive and listen to different radio frequencies over the air like a traditional radio.
See Also
Steps to Turn Any iPhone into FM Radio Receiver
Step 1: Familiarize yourself with SDR technology
SDR technology enables the processing and demodulation of radio signals through software rather than traditional hardware. Using an SDR device, you can transform your iPhone into an OTA radio, providing you with more flexibility, enhanced signal processing, and the ability to receive various radio signal types.
Step 2: Obtain SDR hardware
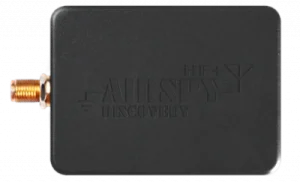
To pick up radio signals on your iPhone, you need a compatible SDR device. The Airspy HF+ Discovery is a popular, high-performance SDR receiver that works well with iPhones. To connect your iPhone to the Airspy HF+ Discovery, you’ll need an Apple Lightning to USB Camera Adapter. Additionally, an RTL-SDR Antenna Kit can enhance signal reception for a better radio listening experience.
Products Links
Apple Lightning to USB Camera Adapter
Note: Remember to check the compatibility of the RTL-SDR Antenna Kit with the Airspy HF+ Discovery before purchasing.
Step 3: Install the required iOS software
To interact with the SDR hardware and process incoming radio signals, you’ll also need to install compatible software on your iPhone. We recommend the following app:
SDR Receiver: This app is compatible with the Airspy HF+ Discovery and offers a user-friendly interface for tuning into FM radio stations and demodulating signals.
Step 4: Connect the SDR hardware
To link the SDR hardware to your iPhone, follow these steps:
- Connect the antenna to the Airspy HF+ Discovery
- Attach the Airspy HF+ Discovery to the Apple Lightning to USB Camera Adapter
- Plug the Apple Lightning to USB Camera Adapter into your iPhone
Step 5: Configure the SDR Receiver app
Once the SDR hardware is connected, open the SDR Receiver app and follow these steps:
- Tap the gear icon to access the settings menu
- Under Device, select Airspy HF+ Discovery
- Modify other settings as necessary, such as sample rate and frequency correction (ppm)
Step 6: Tune into an FM radio station
To listen to an FM radio station using the SDR Receiver app, follow these steps:
- Select the WFM (Wideband FM) demodulation mode
- Adjust the frequency or input the frequency of the desired FM station directly
- Adjust the volume and other settings as needed
Step 7: Enhance the setup
To optimize the radio listening experience, consider these steps:
- Experiment with different antennas to improve signal reception
- Tweak various app settings to enhance audio quality and performance
Advantages of Using SDR Tools
Versatility: SDR technology enables you to receive different types of radio signals, not limited to FM radio. You can explore a variety of radio bands and modes with the appropriate software.
Superior signal processing: SDR software often incorporates advanced filtering and demodulation features, resulting in better audio quality and performance.
Broad device compatibility: This method works with any iPhone or iOS device that supports the Apple Lightning to USB Camera Adapter, regardless of whether it has a built-in FM chip.
Learning opportunities: Utilizing SDR tools can be a valuable educational experience for those interested in radio technology, signal processing, and communication systems.
Conclusion
So, there you have it! It is possible to convert your iPhone into a radio receiver. All you need is a compatible SDR hardware and a software to go with it.


