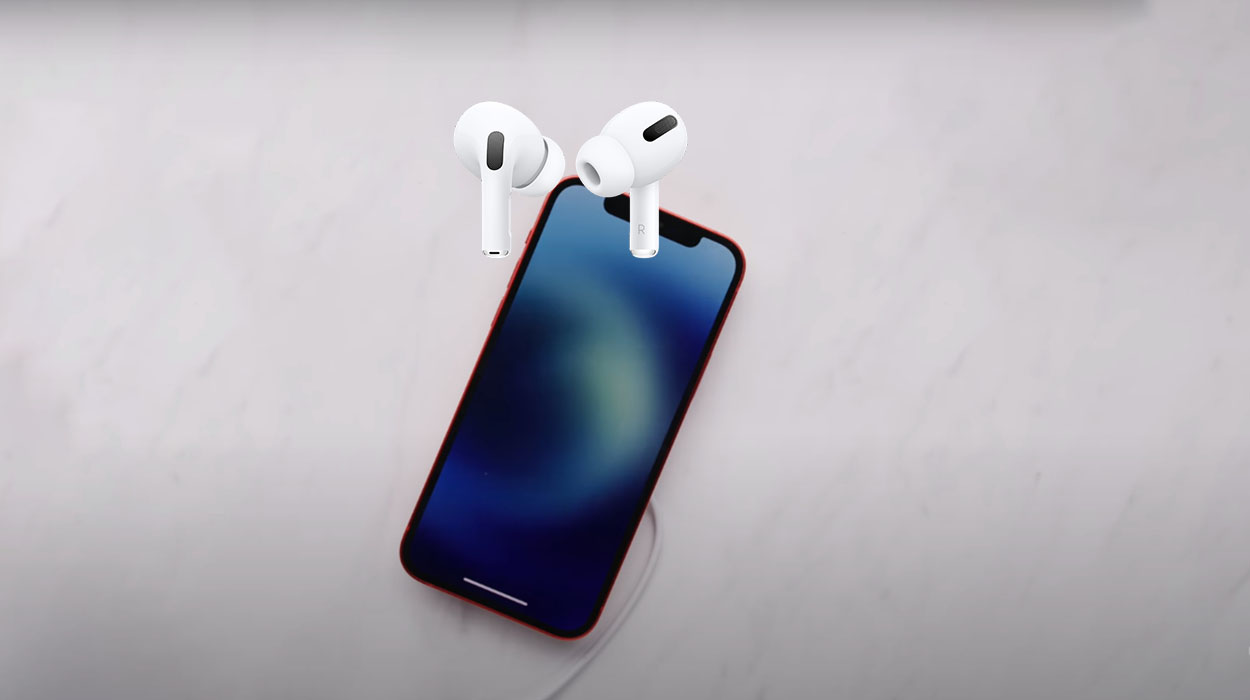
Wondering how to pair your Airpods with iPhone 12 or iPhone 13? Apple has made AirPods very easy to pair with any iPhone running iOS 10 or later.
In this article, you will learn how to connect and use Airpods, Airpods 2 or Airpods Pro with your iPhone 12 or iPhone 13 series. Let’s dive in!
Note: Make sure your device is updated with the latest iOS software to rule out any issue during the paring process.
How to connect AirPods, Airpods 2 or Airpods Pro with iPhone 12 or iPhone 13
Step 1: Charge your AirPods
To begin with, charge your AirPods properly. Place the AirPods in the case. Underside the case you can find a Lightning connector (or the case may have a wireless charging facility). Charge accordingly.
The case can hold up to 8 hours of charge along with 4 hours of charge for each AirPod (that makes a total 12 hours).
Once the case and the AirPods are completely charged, the small indicator light inside the case will turn green indicating a full charge.
Step 2: Turn on Bluetooth on your iPhone
Take your iPhone and unlock it. Use any of the two methods below to turn on Bluetooth:
Method 1: Control Center
- Swipe up from the bottom of your screen to pull out the Control Center.
- Locate the Bluetooth icon and tap on it. It shall turn blue. This will indicate that the Bluetooth has been turned on.
Method 2: Settings App
- Find the Settings app and tap on it to open the Settings window.
- Tap on the General option and then on the Bluetooth option.
- Now flip the toggle button to turn on Bluetooth.
Step 3: Activate the AirPods
This is where you need to first prep up your AirPods for connecting. Make sure that you do the following properly:
- Ensure that the earbuds are inside the case.
- Open the lid of the case but do not remove the earbuds.
- Turn over the case and locate the small white circular button.
- Press and hold the button until the status light inside the case or outside the case (on the front) flashes white.
- The AirPods are now activated and ready for pairing.
Step 4: Connect AirPods to iPhone
Meticulously follow the steps mentioned here.
- Place your AirPods (while still inside the case and the case lid open) near your iPhone.
- Unlock your phone and go to the home screen and wait.
- A setup animation will show up on your phone’s screen with a connect button.
- Tap on the connect button and you are done. In case you have AirPods Pro, three more steps will show up, which are a walkthrough guide. The first screen will teach you about Noise Control. The next screen will allow you to choose the feature of a message announcing using Siri and the final screen will tell you the battery percentage for both the earbuds and the case. Once you read through these three screens, tap on the ‘Done’ button and you are good to go!
Things to do after you connect AirPods to iPhone
This is a bonus segment that we felt you might find it handy. Once you successfully connect AirPods to your iPhone, do the following things:
Verify the Connection
Go to your iPhone’s Settings app >> General >> Bluetooth. Under ‘My Devices,’ check whether the AirPods are listed or not. The status should show as ‘Connected.’
Configure AirPods to your liking
While on the Bluetooth screen, tap on the ‘i‘ icon next to the listed AirPods to pull up the configuration screen.
Here you can find multiple options depending on your AirPods model. In case you have AirPods Pro, you can fiddle with the noise control settings. You can find this under the “Press and Hold AirPods” option.
In case you have 1st or 2nd generation AirPods, you can set what double-tap action can do.
For all AirPods models, you can either turn on or turn off the automatic ear detection feature. By default, this feature is turned on. You can also set the microphone to the left or the right earbud.
You can also take the ‘Ear Tip Fit Test’ that will tell you whether the ear tips that you are using are a perfect fit for your ears or not. If not, you can change the ear tips and then retake that test!
So, there you have it! You can now use your Airpods to listen to music, make phone calls, use Siri and more.

