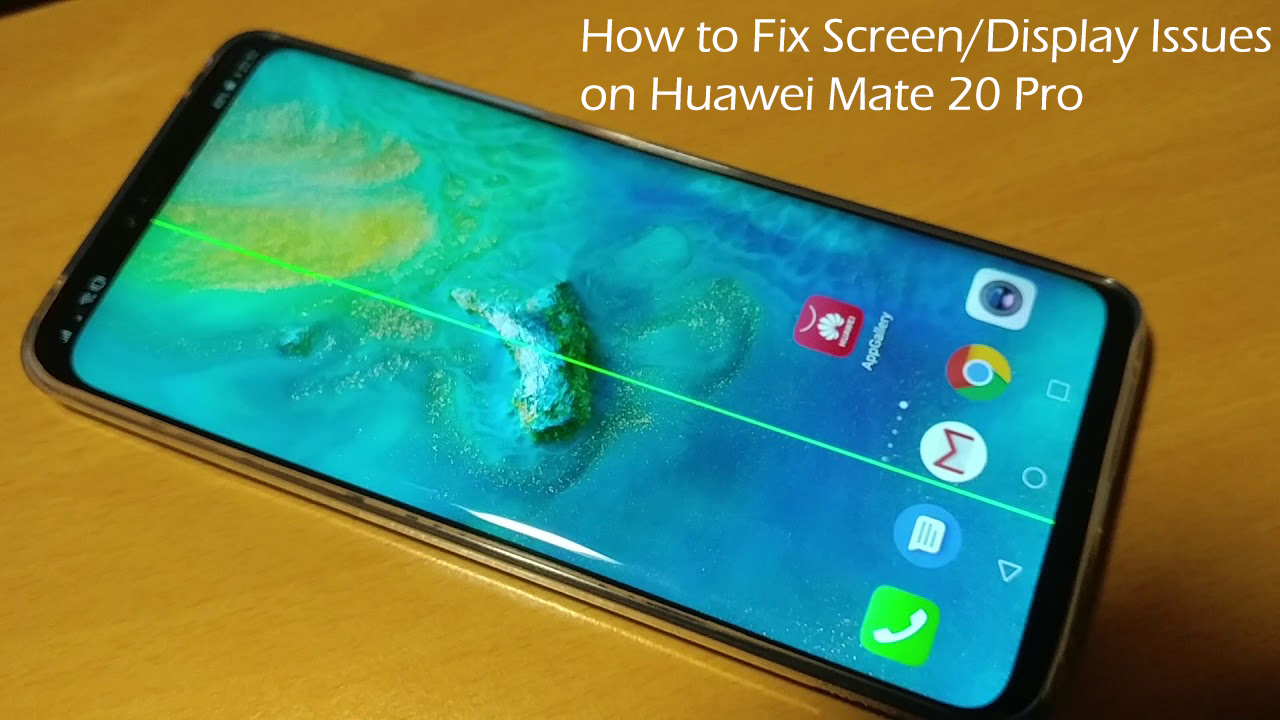
The Huawei Mate 20 Pro smartphone is the elite smartphone in the Huawei Mate series with the Huawei Mate 20 Pro being the recent addition in the series. The smartphone features a 24 megapixels Selfie camera, 8GB of RAM, and a 6.39 inches OLED display with a 1440 by 3120 pixels resolution.
However, with all these amazing features, the device is not without its fair share of flaws. According to most users who have had the chance to use this device, the device has screen display issues that range from flickering, greening, and blackening of the screen.
While display issues are not an uncommon issue with most smartphones, they can be nerve-wrecking especially if you do not know how to diagnose them.
In this article, we will guide you on how to fix any display issues that may be affecting your Huawei Mate 20 pro.
1. Software upgrade
Screen flickering is normally associated with software glitch or a corrupted app in your device. Therefore, if your Huawei Mate Pro screen is flickering, the first thing that you need to do before taking any further troubleshooting steps is to make sure that your device’s software is up-to-date. Once the update is installed, then you can proceed on to the next step.
2. Soft reset your device
If the device is unresponsive, it is recommended that you do a soft reset. This is done to refresh the device’s software to remove any temporary and corrupted data that could be causing the glitch.
Follow the following steps to soft reset your Huawei Mate 20 pro.
- Press and hold the power button and the volume down key simultaneously for about 40 seconds
- Once you see the Huawei logo. Release the buttons.
- Once its back on, check if the issue is still there.
If the problem persists, proceed onto the next step.
3. Start device in safe mode
Sometimes, some downloaded apps can interfere with your device’s system normal functioning causing a display issue. Starting your device in safe mode helps deactivate these apps helping you narrow down the possible causes of the problem.
To start your device in safe mode follow the following steps.
- Press the power key for a few seconds for the device to power off
- Once the device is off, press and hold the power key.
- Release when the Huawei Logo appears on the screen and immediately press and hold the volume own button
- Do not release the key until the phone boots up completely
- After booting, you should see Safe Mode at the bottom of your screen
Once your device is started in safe mode, check whether the problem is still there. If the problem is gone, try uninstalling some recently downloaded apps. If the problem persists, proceed to the next fix.
4. Clear cache data
Often times, cached data can become corrupted causing display issues and other issues within the phone. This data is stored in a dedicated partition within your phone’s memory and can be wiped by switching your phone into recovery mode.
Follow these steps to wipe cache partition.
- Switch off your device
- Press and hold the power button along with the volume up button.
- Once the device is in recovery mode release the keys
- Use the volume down key to scroll down to “wipe cache partition” and then press the power key
- Reboot the device and check if the problem is gone
5. Factory reset
We know, this is the last fix you want to try, because you are afraid that you might lose your data. However, a factory reset can help eradicate any software glitches that might be causing screen flickering on your Huawei Mate 20 pro.
Before you do a factory reset, ensure that you back up all your data. Follow this steps.
- Switch off your device
- Press and hold the power button along with the volume up button.
- Once the device is in recovery mode release the keys
- Use the volume down key to scroll down to “wipe cache/ factory reset” and then press the power key
- Reboot the device and check if the problem is gone
Wrapping Up
This last step should solve any problem with your display. However, if the problem persists, the problem might be with the phone’s hardware component. If it gets to this, the best idea is to return it to the manufacturer for further diagnostics.

