Generally, Windows 10 is a powerful Operating System and performs as fast as one can desire. At times, however, your computer may not be up to the speed you desire while doing some stuffs like playing the latest video games, editing that wonderful video or building that cool website. It is usually important to have your computer operating at the best possible speed at all times and not just those few occasions.
One of the major reasons why some computers operating on Windows 10 have reduced performance is because it runs some system processes in the background. There are some new Windows 10 apps that have permissions to run in the background so that they can update their live tiles, fetch new data, and receive notifications. The funny thing is that some of these processes are quite unnecessary and do not only waste your power but also other system resources. An example of such programs is the ‘Get Office’ app that does nothing else than to constantly bug you about purchasing Microsoft Office.
It is quite necessary to end some of this processes for the sake of your PC’s battery life and also to make important processes run at the maximum possible speed. To kill the processes, there are two major options that can be considered and each has the limit it can be applied to.
Kill The Apps From The Privacy Setting
The list of apps that have permission to run in the background of windows 10 are usually listed somewhere in the privacy setting. To stop them using this option, follow the steps below;
- Click on the start or windows icon
- Click on Settings
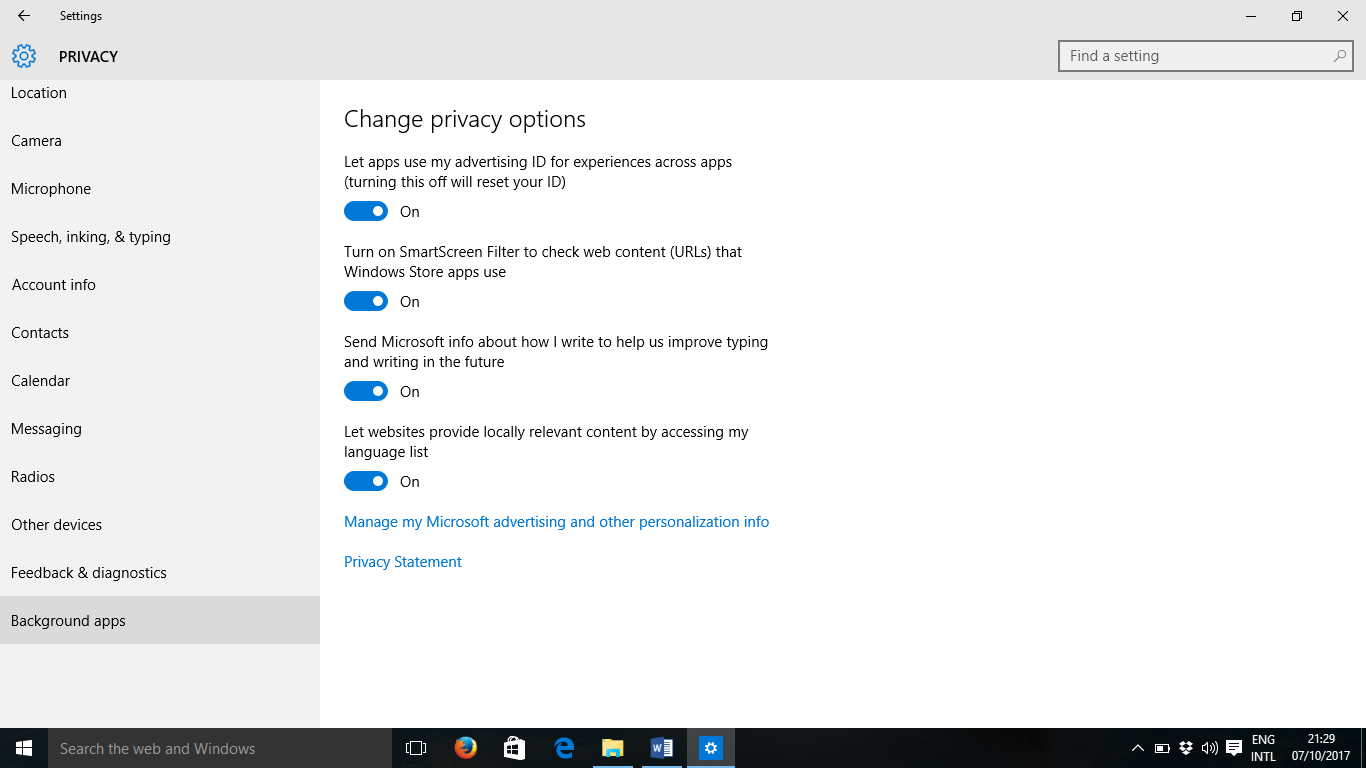
- Select Privacy
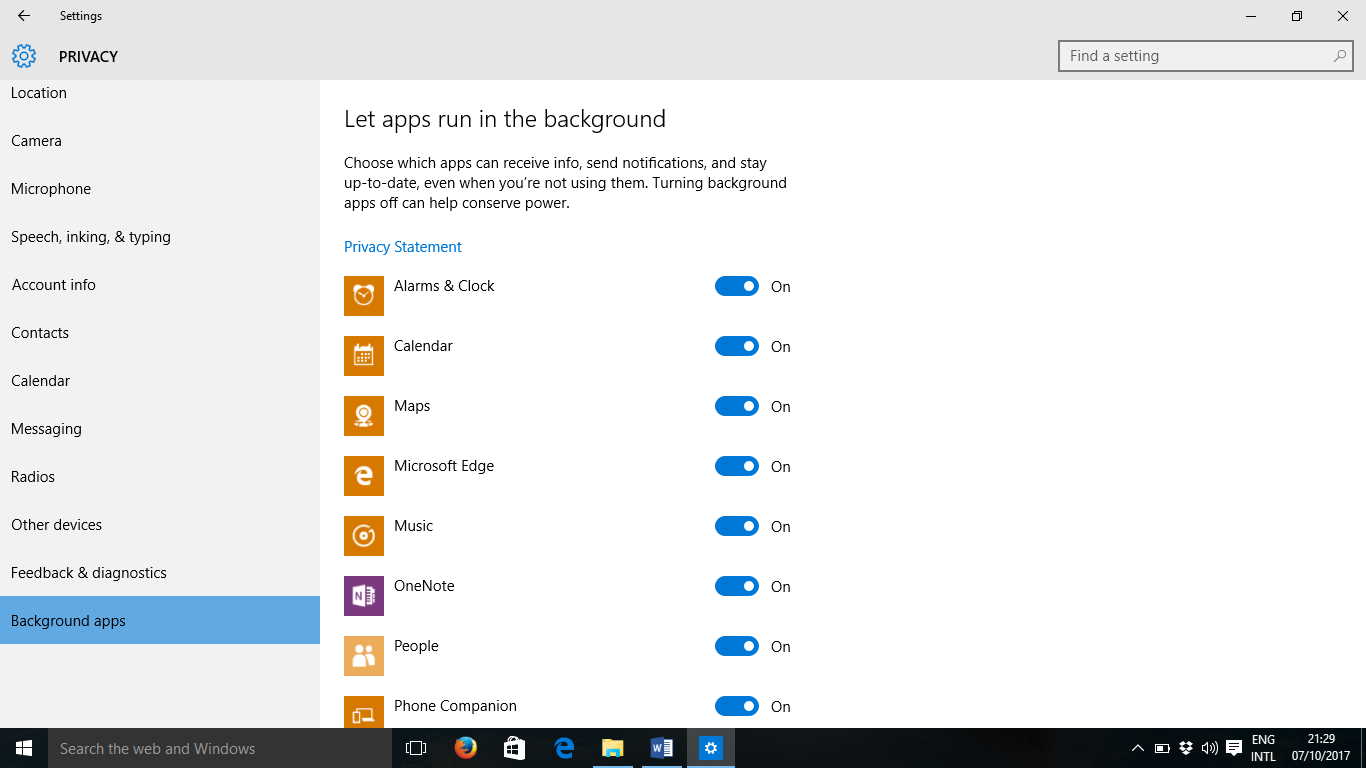
- Scroll down to listed options at the left and side until you locate ‘Background apps‘ (it is usually located at the very bottom). Click on it.
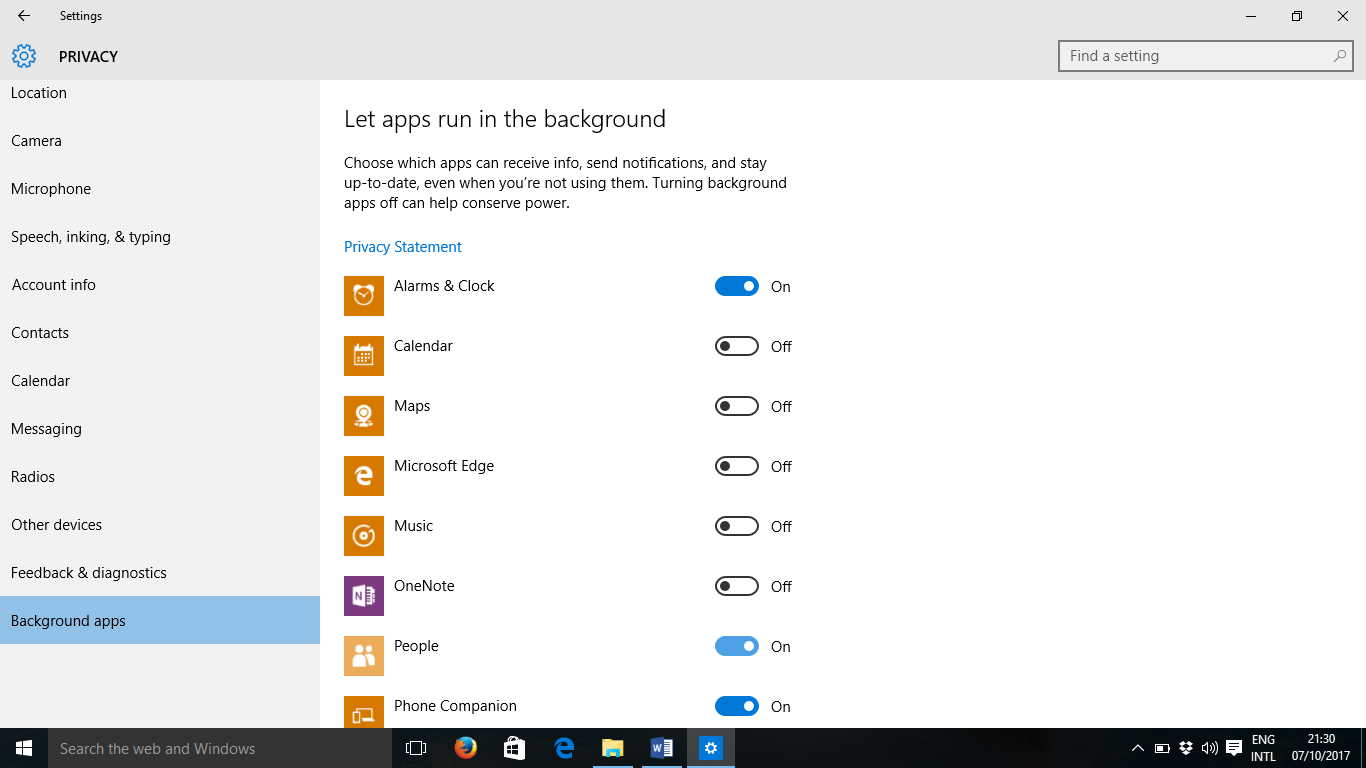
- All the apps that have permission to run in background will be listed. You will noticed that they are automatically turned ‘ON’, scroll through them and toggle off whatever app you do not want to run in the background.
Note: Just be mindful of the apps you turn off. You will not receive notification or alert from any app you turn off its ability to run in the background for instance, if you toggle off your email app from this setting, you won’t be notified of new mail and you will have to log in before knowing of new mails.
Kill Them With Battery Saver Mode
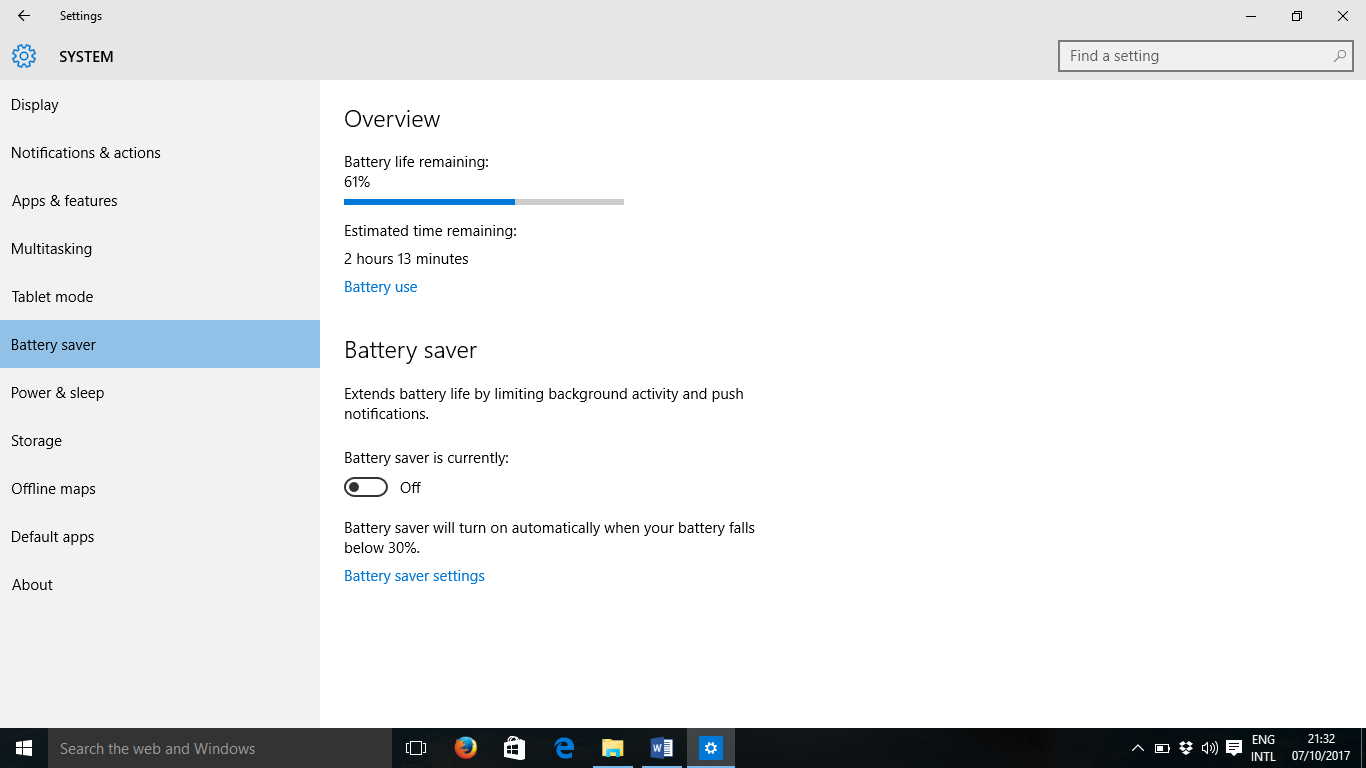
The major function of the battery saver mode is to save your battery power, and it does this by switching off some features in your PC of which background running apps are part of. Battery saver mode is often activated automatically when your battery drops below some given level (usually 20%), but it can also be activated at any point whenever you tap on the battery icon in the notification bar.
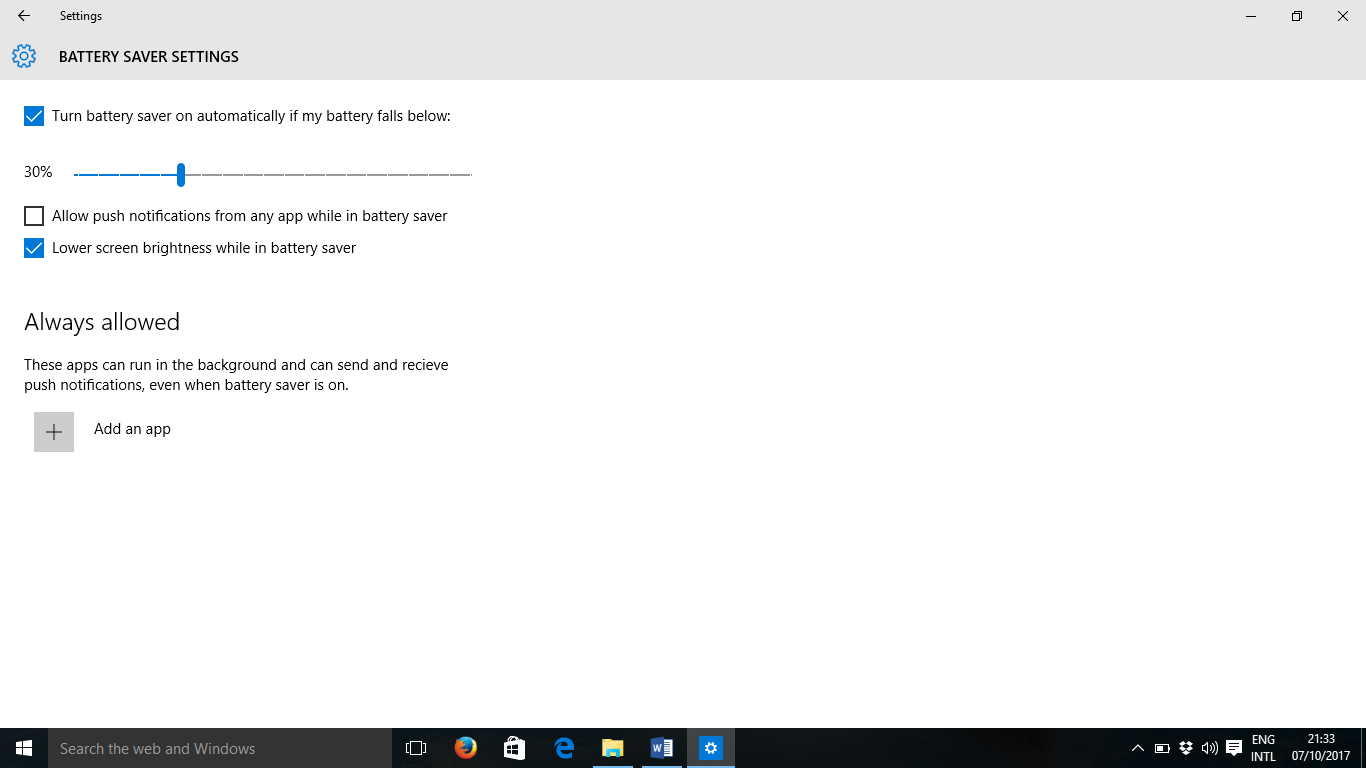
As has been said before, once you tap on the battery icon, Battery saver mode will be activated. You can customize the mode as you desire so that it can kill some select apps and leave others to run in the background once it is activated. To do this, follow the steps below;
- Click on the Start or window icon
- Select ‘Settings’
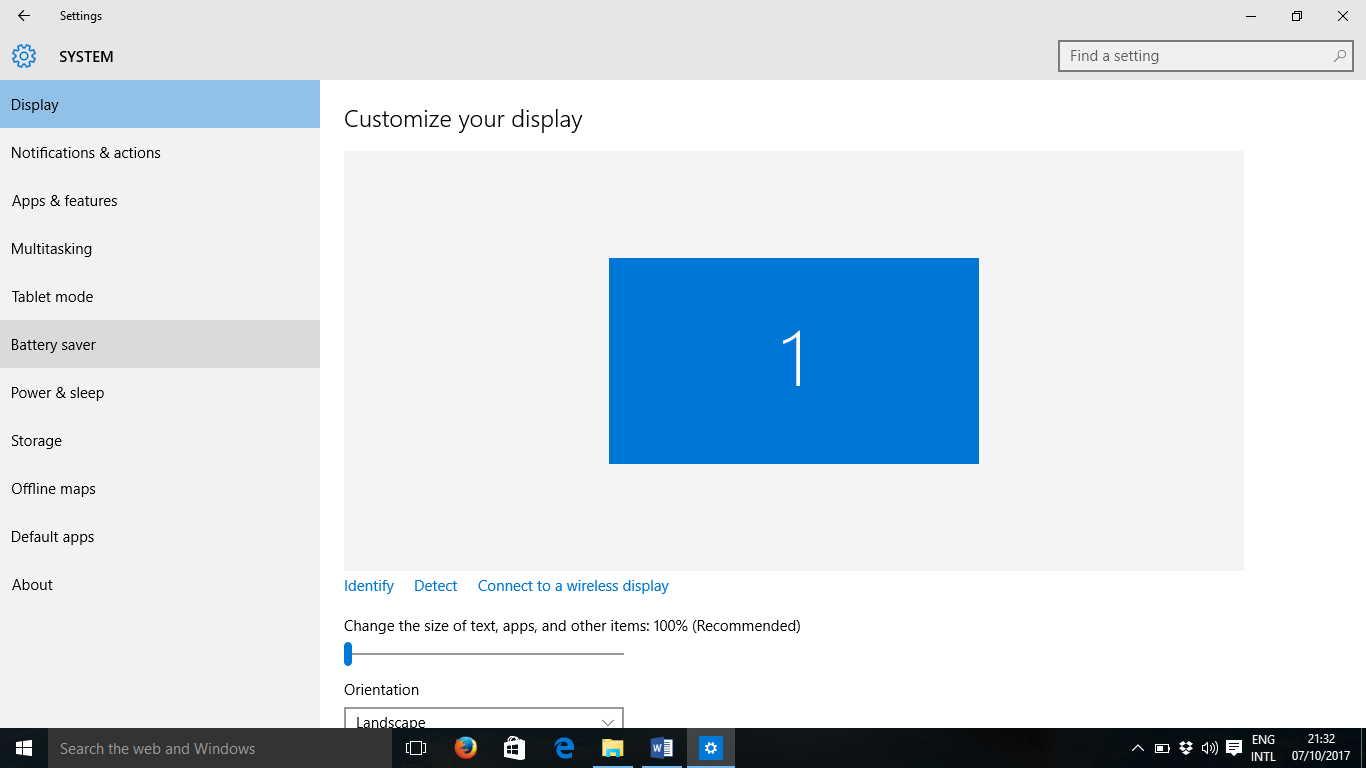
- Select ‘System’
- Select ‘Battery saver’
- At the bottom, click on ‘Battery saver settings’
- At this point, you are presented with the front where you can customize battery saver to your choice. You can add the apps you want to run in the background even when battery saver is on. Click on the ‘Add an app’ icon to add apps you will like to run even if battery saver is activated. With this option, you can switch on Battery saver at any point to kill the programs you don’t want to be running on the background at any time.
The two processes are the major ways to kill unwanted background processes in Windows 10 PC. They remain the only reliable methods.

