Wondering how to take a screenshot on the iPhone 12 or iPhone 13? Well, the process is still simple but slightly different from how you use to take screenshot in the earlier models of iPhone that came with the home button.
So, how to you take screenshots on iPhone 12 or iPhone 13? Here are 3 simple methods that you can use to easily take screenshots on your iPhone 12 and iPhone 13 series. Read on.
1. Using the Volume Up and the Side/Power button combos
Just press and hold together the Volume Up and the Side/Power buttons for about second. Once you let go of the buttons, a screenshot will have been taken.
After the screenshot is taken, you will see the preview of the screenshot at the bottom of the screen. Once you tap on the screenshot, the image will display on the screen. You can then choose to edit the image if you want.
If you wish to share the screenshot, tap and hold on to the screenshot so as to enable the share option. From here, you can then share the screenshot through an app of your choosing.
2. Using the Assistive touch feature
With Assistive touch feature, you can perform certain operations on your iPhone such as adjust volume, lock screen, restart your phone, take screenshots, etc with just the tap of your finger.
To use Assistive touch to take screenshots, follow the steps below.
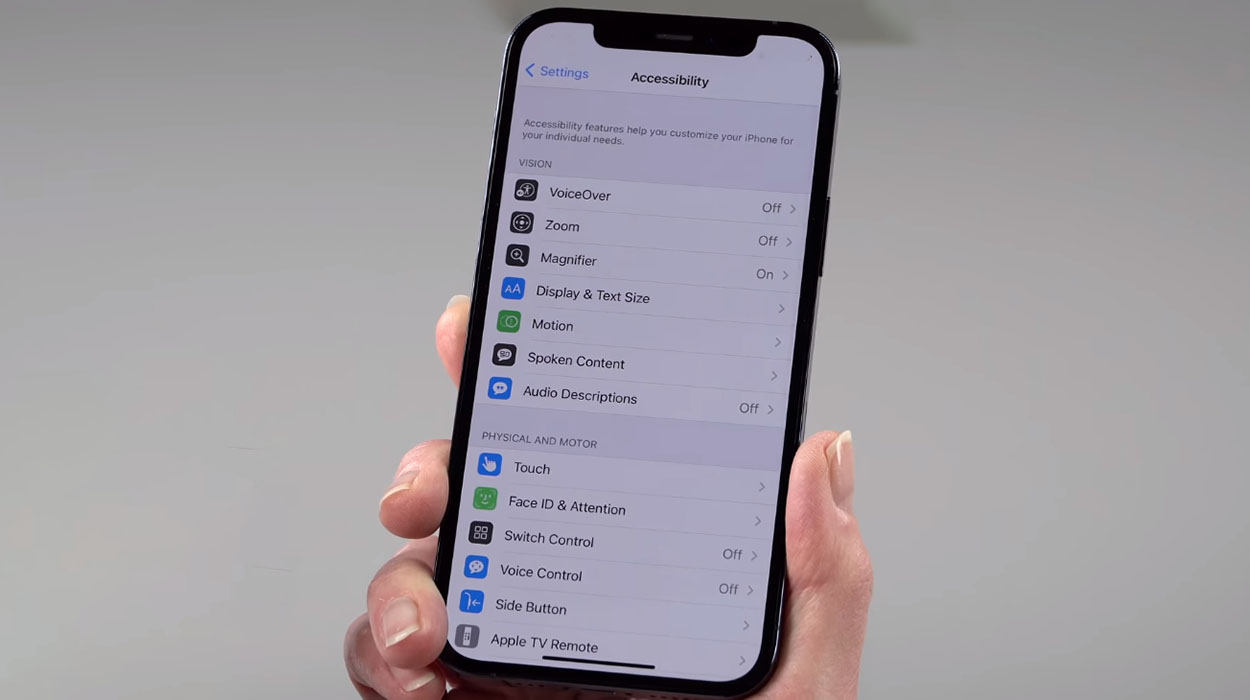
- Go to Settings
- Tap on Accessibility
- Tap on Touch
- Tap on AssistiveTouch and toggle the switch On. When you turn on Assistive Touch, you will see a transparent button on the screen.
- Next tap on Customize Top Level Menu
- Then tap the Custom icon and select Screenshot from the list. This will add the screenshot button to the Assistive Touch Menu.
With the screenshot option added to the Assistive Touch menu, you can take a screenshot any time you want with just one tap.
3. Using Siri
With Siri, it is even easier to take a screenshot as it allows you to capture screenshots using just voice command. To use Siri to take screenshot, just say ‘Hey Siri‘ or long pressing the Side/Power. This will invoke Siri and you will see the Siri interface at the bottom of the screen indicating that Siri is listening to your voice commands. Ask Siri to take a screenshot and it will take the screenshot for you.
Conclusion
All the screenshots you take will be saved on the Screenshots folder of your Photos app. You can access it by following the path: Photos app>>Albums>>Media types>>Screenshots

