New, better and top smartphones and tablets with better functionalities are hitting the market every few months. Many android users tend to upgrade to the newest gadgets ending up having one or more additional phones lying around.
Now you can choose to turn your other Android phone into a web server which you can use to host and deploy your web pages. Once the server is running, you can use it to transfer files either publicly or privately, host your video or music files or even run a website such as WordPress which you can access either on your local area network(LAN) or even over the internet from anywhere around the globe.
How to run a web server to host website from Android Phone
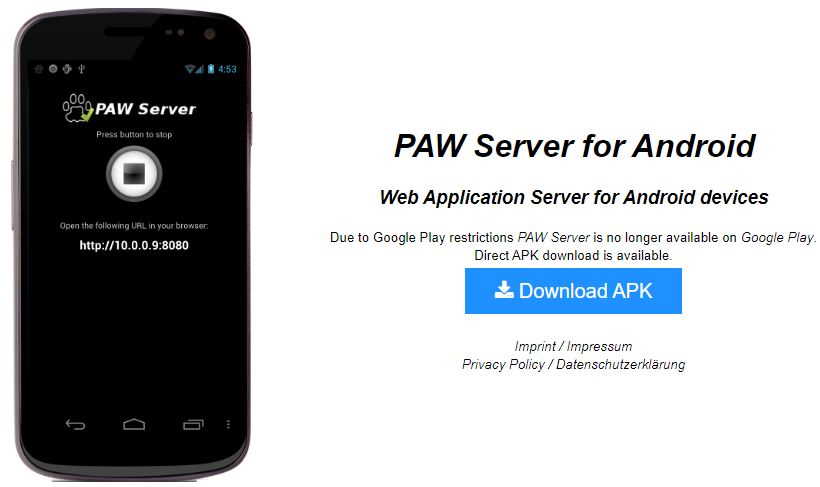
To start, you will need an android phone and a web server app. In the recent past, many applications have been developed in Android environment offering web hosting services some free and others at the cost of a few bucks. In this article, we will look at Paw Server for Android since it is a free application with a simple interface and easy for anyone to set up.
The steps for using this app to turn your device into a web server include:
- Step 1: Download Paw Server for Android and click on install.
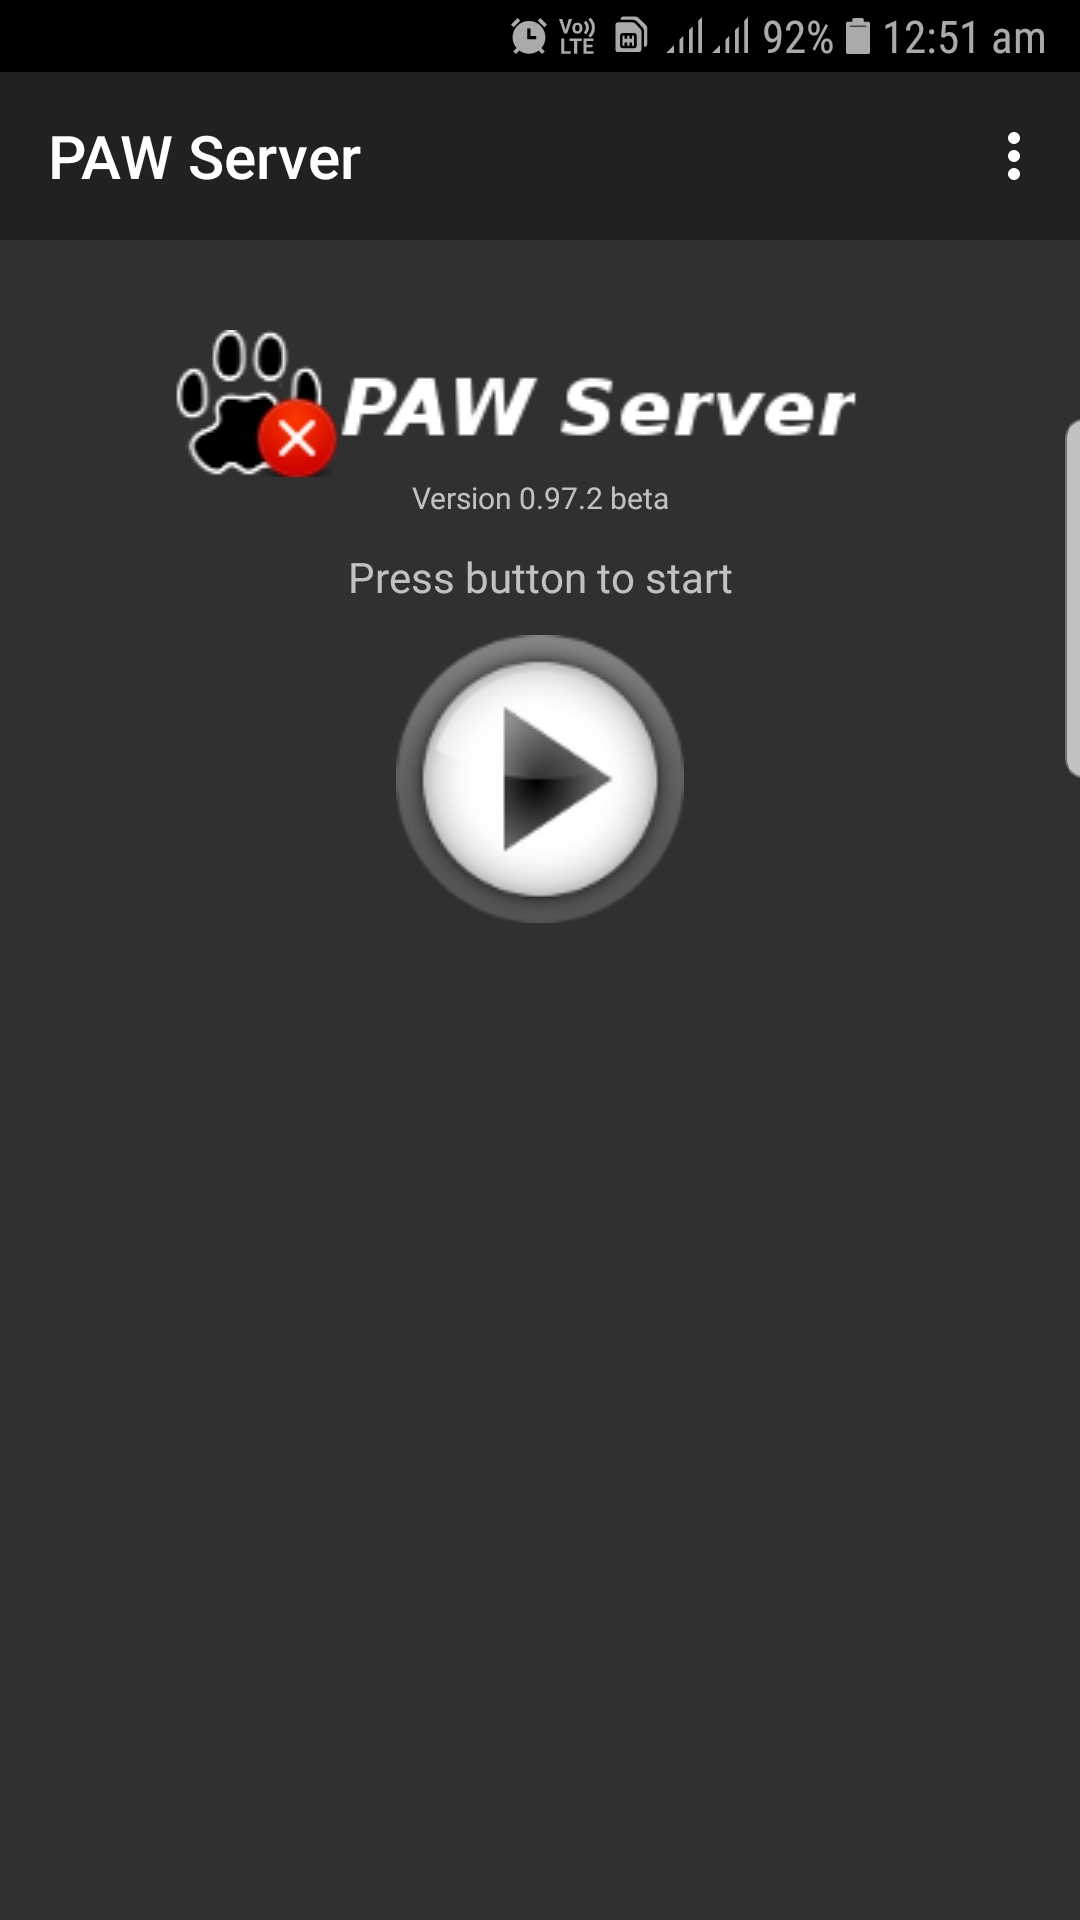
Step 2: Once the process finishes go to your phones home screen or app drawer and launch PAW web server app.
Step 3: Ensure that your Wi-Fi is on since you have the intention of viewing PAW web server on an external device such as a desktop or laptop. The Android device should be connected to the same Wi-Fi network as the desktop or laptop.
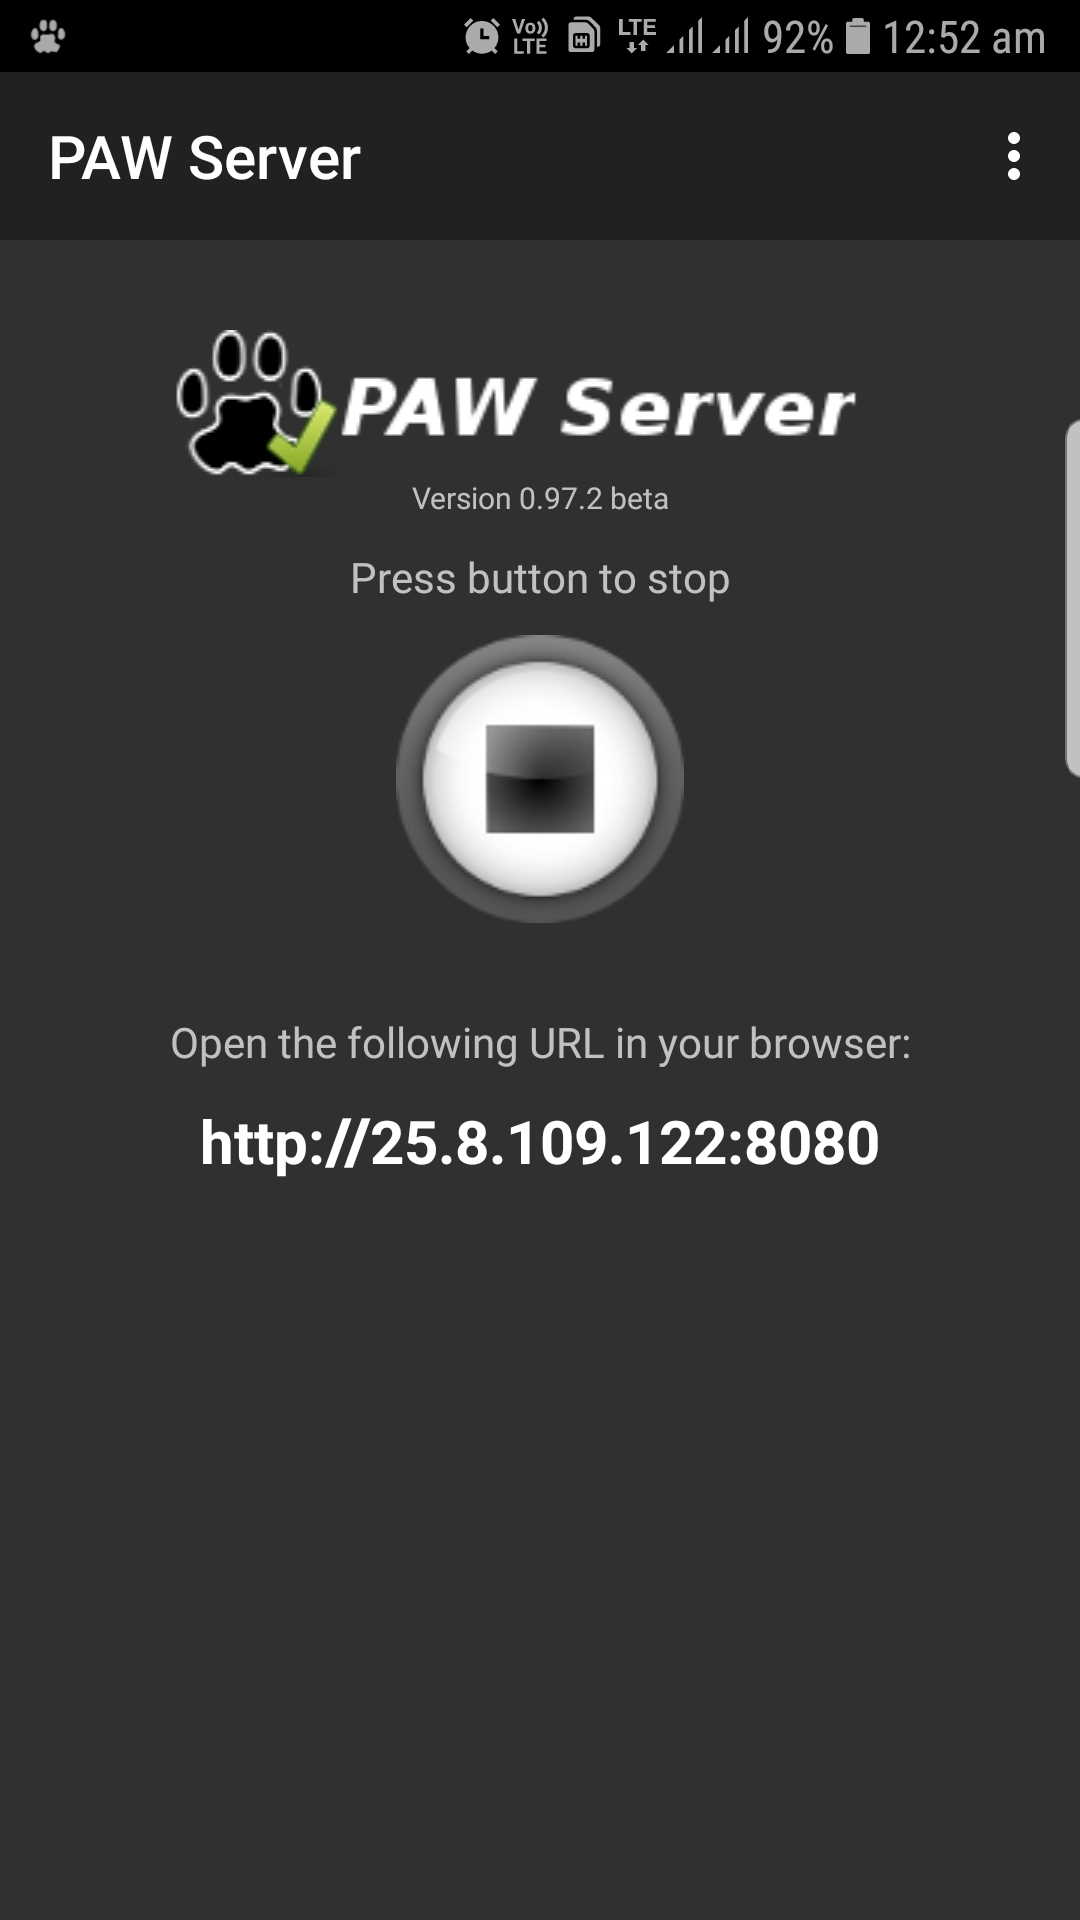
Step 4: On the PAW app interface click on the play like button to start the server.
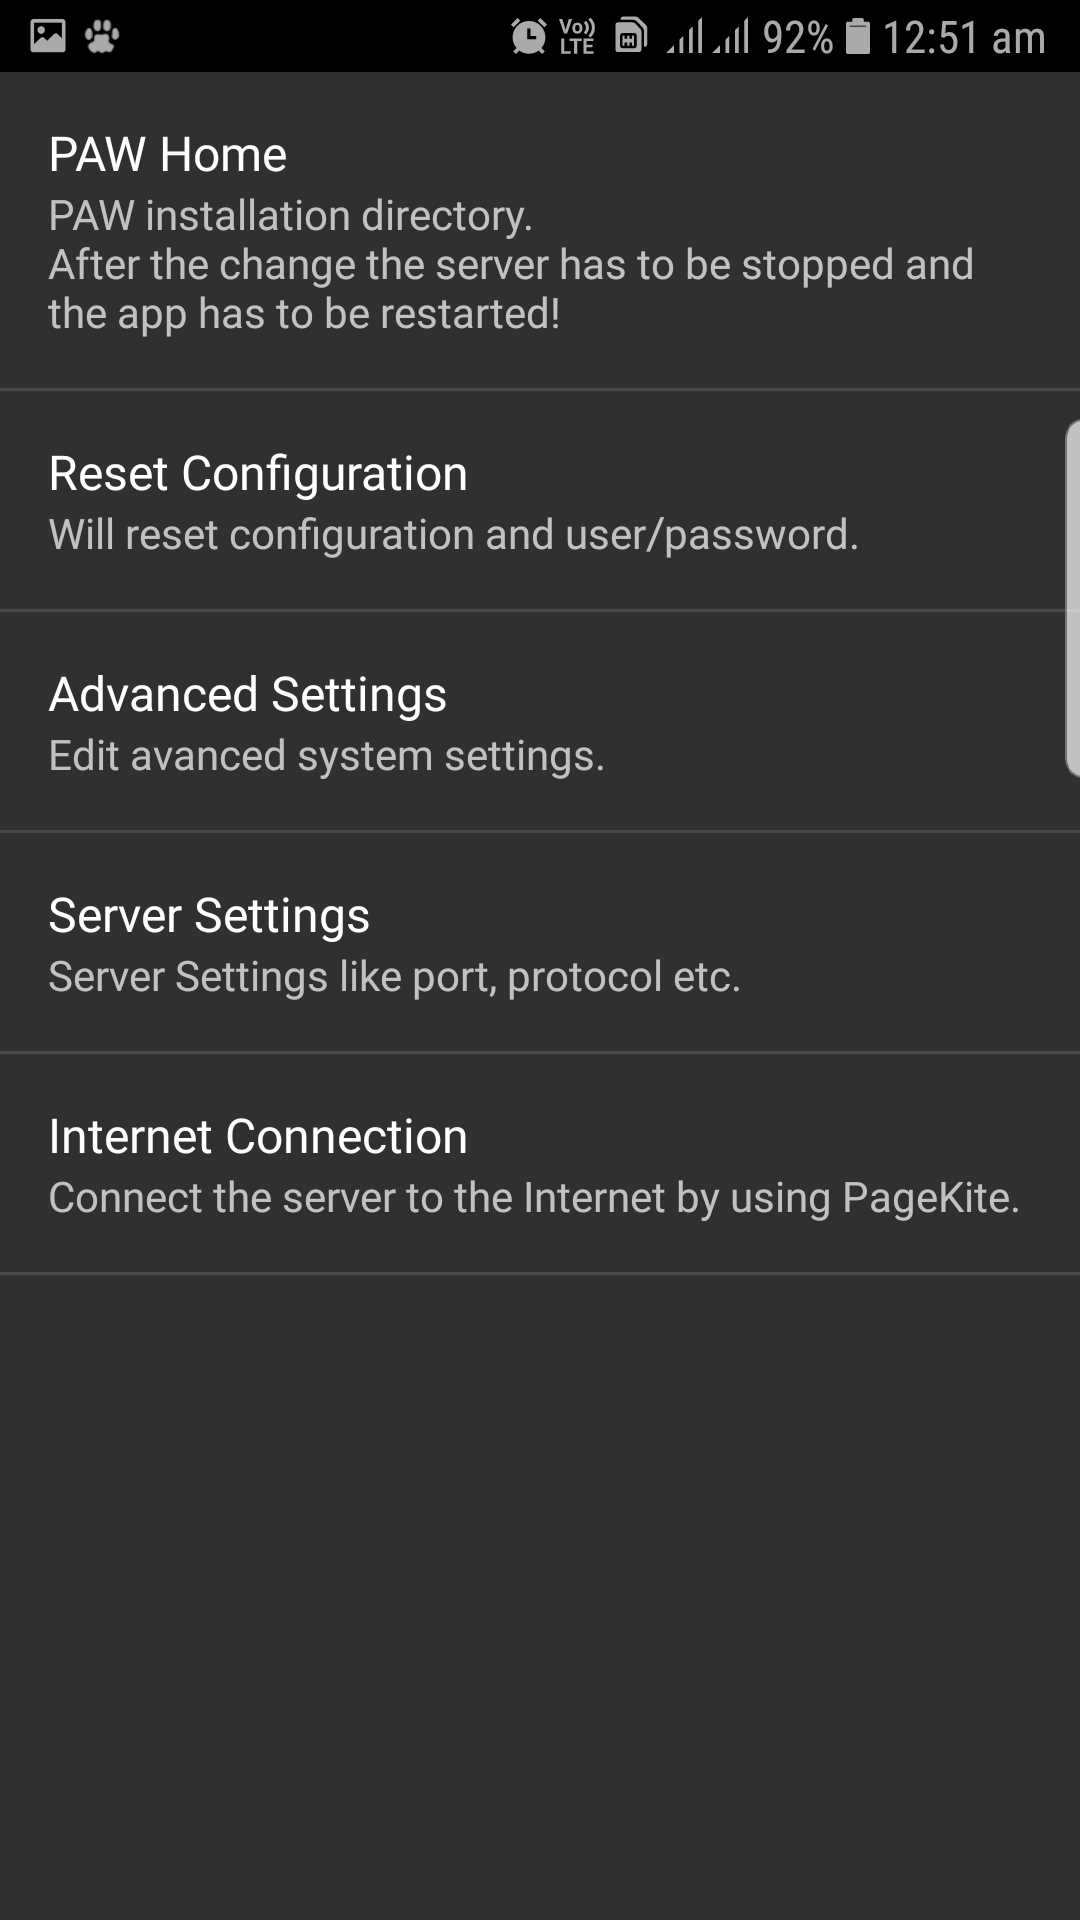
Step 5: You can use PAW settings to tweak the apps functionality. For instance, you can change the storage path for website files, change the default server port setting or protocol among other.
Step 6: After clicking on the start button, the PAW app displays an address as shown in the image below. Each address is usually unique to every device due to unique IP addresses.
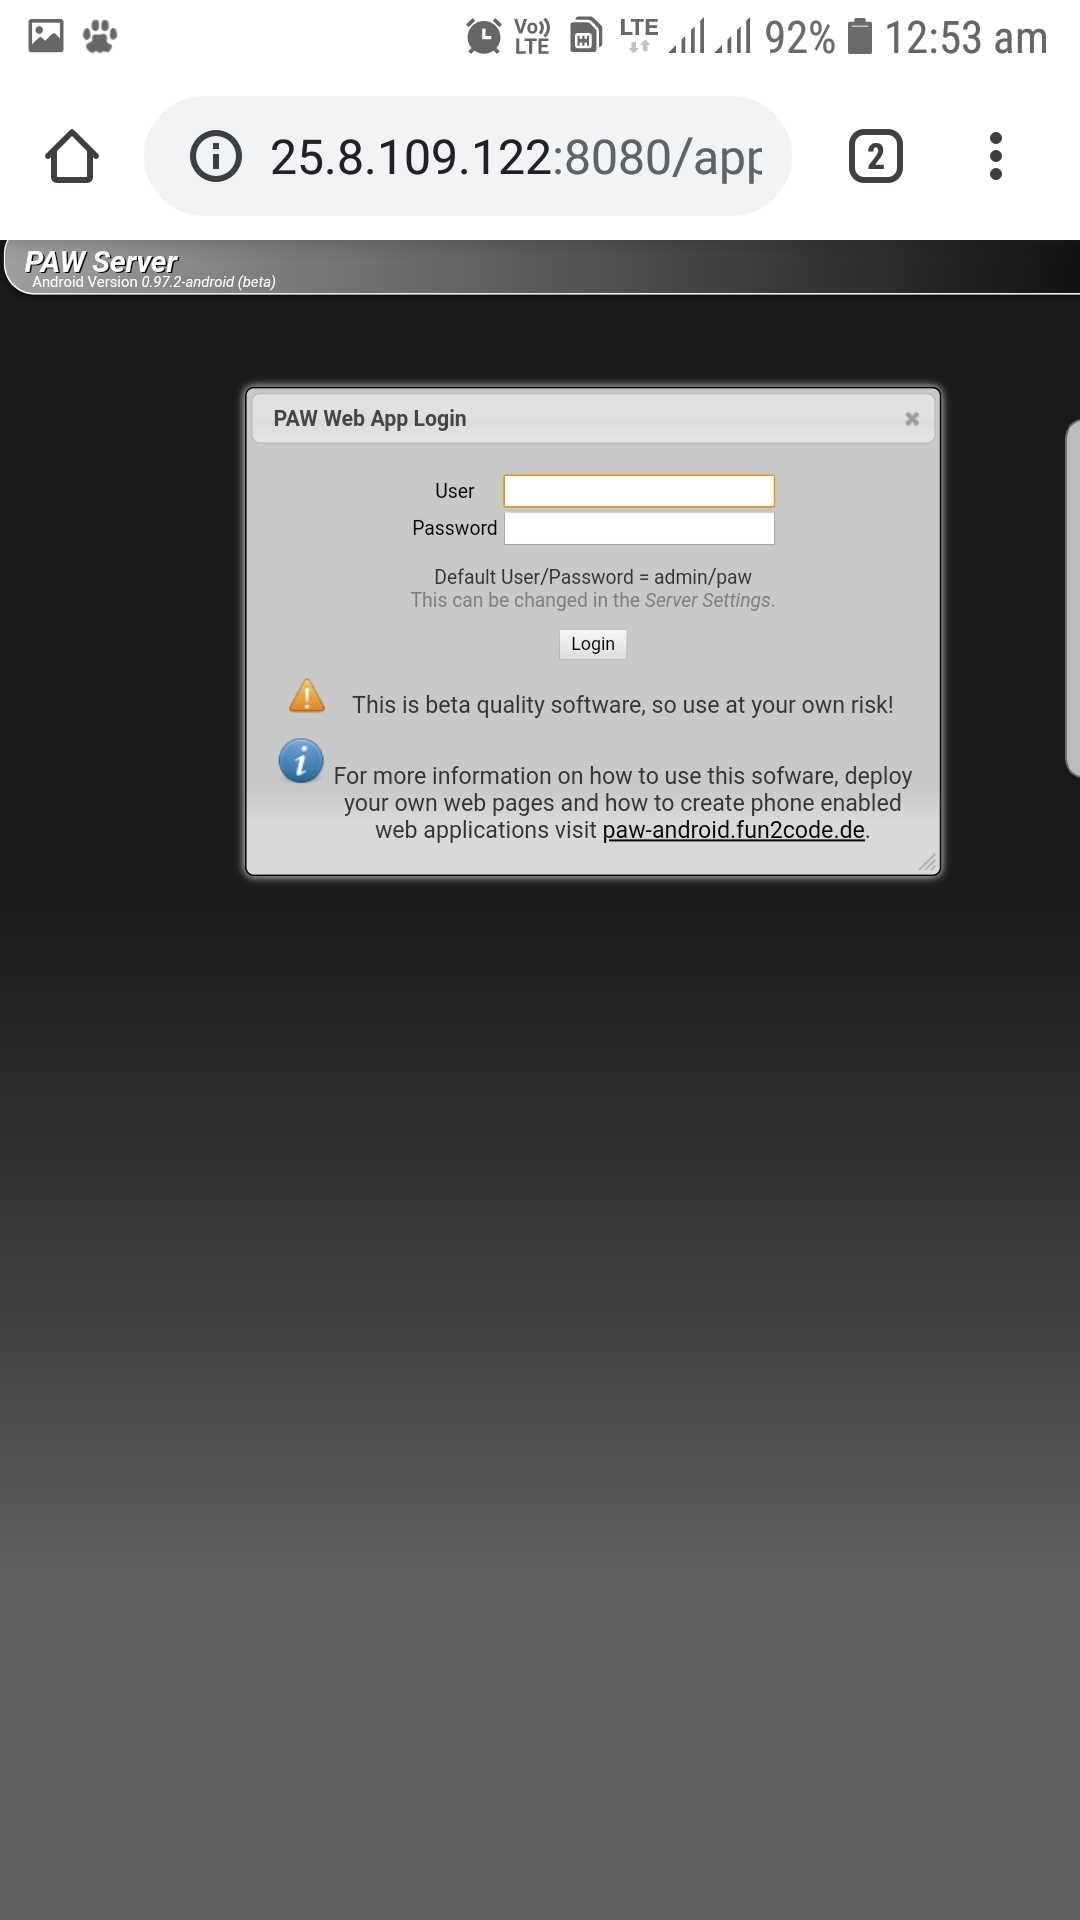
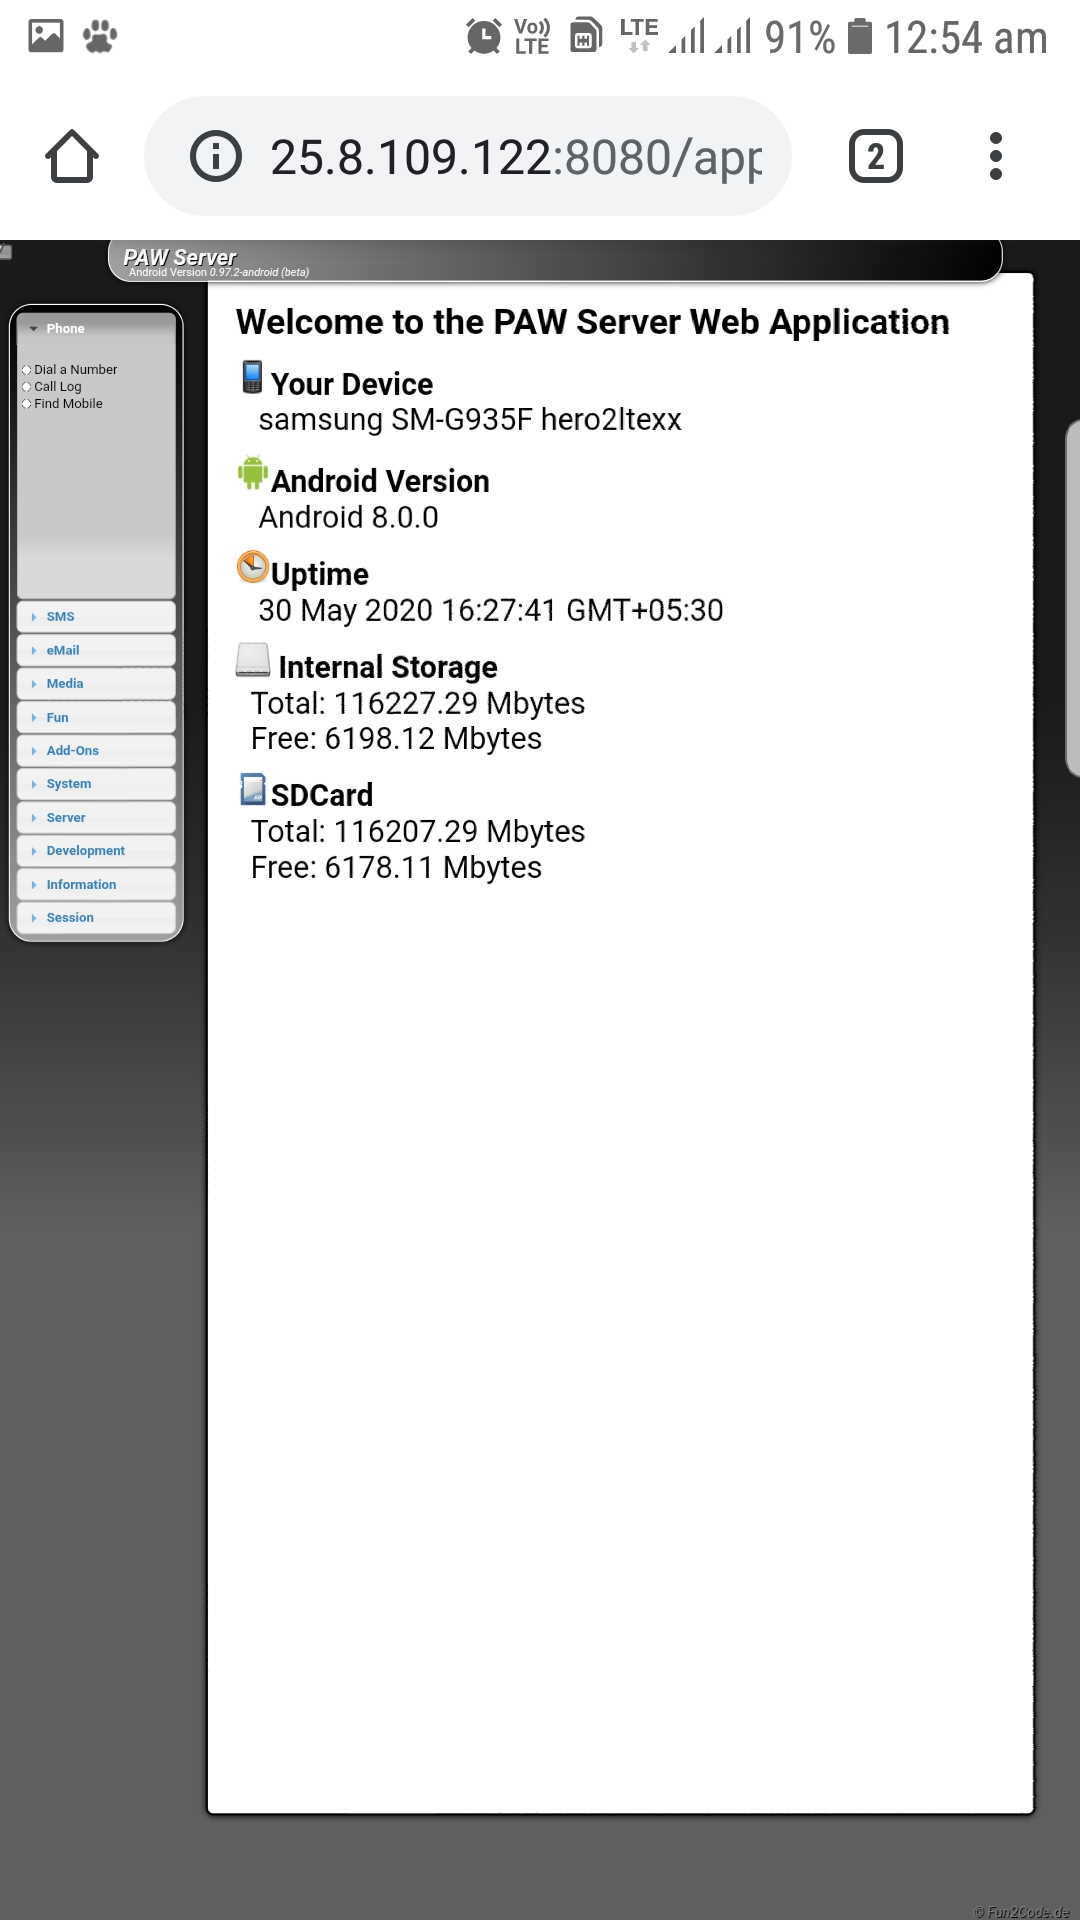
Step 7: Copy or type the address from the PAW server app to your computer’s browser and click enter. If you are successful in setting up, a PAW Server admin interface opens up in your browser asking you to enter the user and password which are admin and paw The default user and password can be changed later in the server settings. Once you login correctly, the browser displays options to control the server and your android phone.
Now you have a full blown web server running on your device. However, to deploy websites such as WordPress on this server you need to copy your web content into the /SD card/paw/HTML directory. Also, PAW can be used to develop your own dynamic applications. The Web Server can be connected to the internet using PageKite enabling you to access anything on it from anywhere in the world.
Web servers on their own might require extra storage space to have full functionality. If your device space is not enough, you can boost it by adding an SD card or even use a USB OTG (On The Go) to allow Connection of USB drives or external hard disks if you need a server with huge storage space for efficient hosting.

